As temperatures drop and winter settles in, most homeowners focus on sealing windows, checking furnaces, and stocking up on salt for icy sidewalks. One essential system often overlooked is the water heater. A unit that works fine in milder months can struggle when cold weather increases demand and stresses pipes, tanks, and heating elements. Taking time now to prepare it can prevent unexpected cold showers, higher energy bills, and costly emergency repairs during the coldest weeks of the year.
Cold weather places extra pressure on water heaters through lower incoming water temperatures and the risk of freezing in exposed pipes. Simple maintenance steps and early inspections make a real difference. For many households, arranging professional plumbing support for water heaters provides peace of mind that everything is in proper working order before the first hard freeze arrives.
Why Winter Preparation Matters
Water heaters operate year-round, yet winter creates unique challenges. Groundwater temperatures fall, so the unit must work harder to reach the same set point. In colder climates, pipes in unheated spaces such as garages, crawl spaces, or exterior walls become vulnerable to freezing. A frozen pipe can burst and cause significant water damage. Sediment that builds up inside the tank also reduces efficiency and can lead to overheating or premature failure when the system is under heavier load.
Regular seasonal checks help identify small issues before they become emergencies. Homeowners who address these points in fall often enjoy more consistent hot water, lower energy use, and longer equipment life. The effort required is modest compared with the inconvenience and expense of a midwinter breakdown.
Start with a Visual Inspection
Begin by examining the water heater itself. Look for any signs of rust, corrosion, or moisture around the base of the tank. Check the area under the unit for pooling water, which can indicate a leak. Inspect the pressure relief valve and the discharge pipe to confirm they are clear and properly connected. On gas models, make sure the flue or vent is free of debris and that the pilot light or electronic ignition is functioning correctly. For electric units, verify that the circuit breaker has not tripped and that the access panels are secure.
Listen for unusual noises such as popping or rumbling. These sounds often point to sediment accumulation at the bottom of the tank. Address any visible problems promptly. Tightening a loose fitting or replacing a worn anode rod can prevent larger issues later.
Flush the Tank to Remove Sediment
Sediment buildup is one of the most common reasons water heaters lose efficiency. Minerals from hard water settle at the bottom of the tank, forming a layer that insulates the water from the heating element or burner. The result is longer recovery times and higher energy consumption. Flushing the tank once or twice a year removes much of this material and restores better performance.
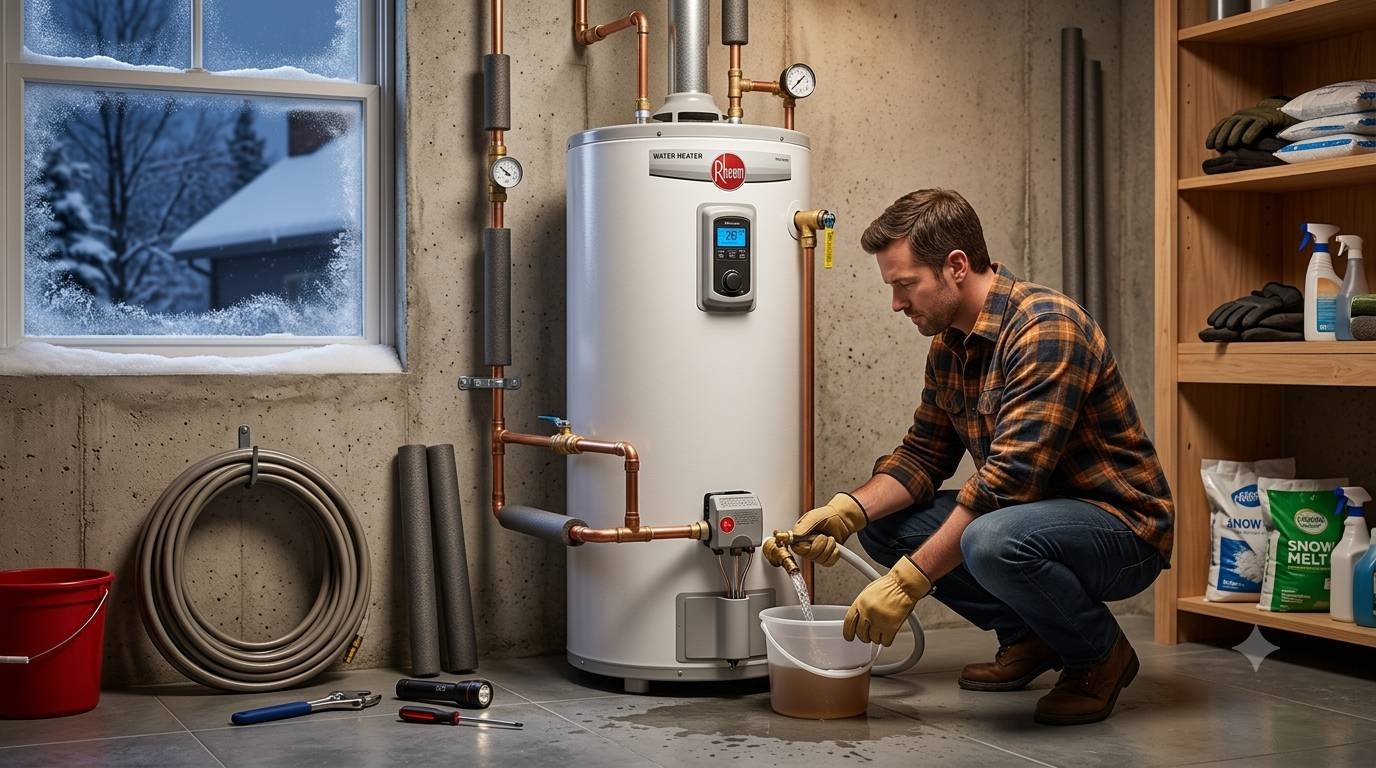
To flush a conventional tank-style water heater, turn off the power or gas supply and close the cold-water inlet valve. Attach a garden hose to the drain valve at the bottom of the tank and run the other end to a floor drain or outside. Open the drain valve and allow the tank to empty. Once most of the water has drained, briefly open the cold-water inlet to stir up remaining sediment, then close it again and finish draining. After the tank is empty, close the drain valve, remove the hose, reopen the cold-water supply, and restore power or gas once the tank is full. Always follow the manufacturer’s instructions for your specific model.
Insulate Exposed Pipes and the Unit
Heat loss through pipes and the tank itself becomes more noticeable in cold weather. Insulating the first several feet of both hot and cold water lines reduces standby heat loss and helps the water heater recover faster. Foam pipe sleeves are inexpensive and easy to install. In unheated areas, wrap pipes thoroughly and seal any gaps where cold air can enter.
Many older tanks benefit from an insulating blanket designed for water heaters. These blankets improve efficiency, especially if the unit sits in a cool garage or basement. Newer high-efficiency models often already have adequate insulation, so check the manufacturer’s guidance before adding a blanket. Never cover the thermostat, access panels, or the top of a gas water heater.
Adjust Temperature Settings for Safety and Efficiency
Most water heaters are set between 120°F and 140°F. A setting of 120°F is generally sufficient for household use and reduces the risk of scalding while lowering energy use. In winter, some households raise the temperature slightly to compensate for colder incoming water, but avoid going above 140°F unless there is a specific need, such as a dishwasher that requires higher temperatures.
Test the temperature at a faucet after making adjustments. If the water feels lukewarm even at higher settings, the heating element or thermostat may need attention. Lowering the temperature when the house is empty for extended periods can also save energy.
A Practical Winter Checklist
Use this straightforward list to guide your seasonal preparation:
- Inspect the tank and surrounding area for leaks, rust, or moisture.
- Check the pressure relief valve by carefully lifting the lever and allowing a small amount of water to discharge.
- Flush the tank to remove sediment buildup.
- Insulate the first six feet of hot and cold water pipes.
- Verify that the temperature is set between 120°F and 140°F.
- Test the unit by running hot water at several fixtures and noting recovery time.
- Clear the area around the water heater so it has proper airflow and is easy to access.
- Note the age of the unit; most conventional tanks last 8–12 years, while tankless systems often last longer with proper care.
Completing these steps takes only a few hours for most homeowners and can prevent many common winter problems.
Know When to Call a Professional
Some tasks are best left to trained technicians. If you notice persistent leaks, unusual noises that continue after flushing, inconsistent temperatures, or any signs of gas odor, stop and contact a qualified plumber. Gas water heaters require careful handling of combustion components and venting. Electric units involve high-voltage wiring that should not be serviced by untrained individuals. Annual professional maintenance can also include testing the anode rod, checking electrical connections, and verifying safety devices.
Conclusion
Preparing a water heater for winter is a practical step that protects both comfort and budget. A careful visual inspection, tank flush, pipe insulation, and temperature check form the foundation of reliable performance through the cold months. Addressing small issues early reduces the chance of sudden failures when outdoor temperatures are at their lowest. By following these seasonal measures and knowing when professional help is needed, homeowners can enjoy consistent hot water and greater peace of mind until spring arrives.